WELCOME About HEP
Research
Graduate Studies
Theses
Employment
Contact Info
HEP GROUP
Personnel
Computing Media Releases
Events
Links

Using Cygwin, a Free Unix Environment for Windows |
|
Cygwin is a complete GNU/UNIX-like environment for Windows. With CygWin on Windows, you can open shell windows, run an X server, compile programs with gcc, connect to remote machines using ssh and start X programs on those hosts. Installing Cygwin/XRequirementsBefore you can start using Cygwin, you will need to install it. Here's what you need:
Go to the Cygwin web site by following one of the links above. Click on the icon "Install Cygwin/X Now" and save the file setup.exe to your desktop (or another convenient location). Once downloaded, double-click the setup file to begin the install process. You will see the following window appear: 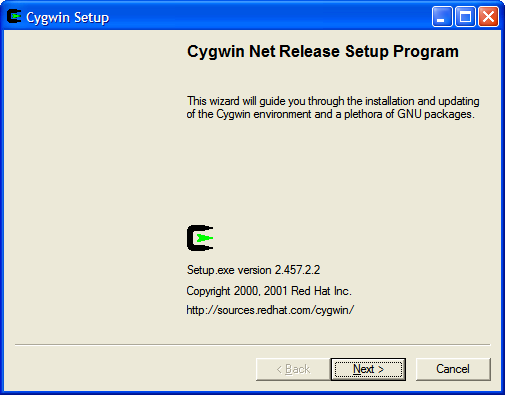 Click next, and then select "Download from Internet" 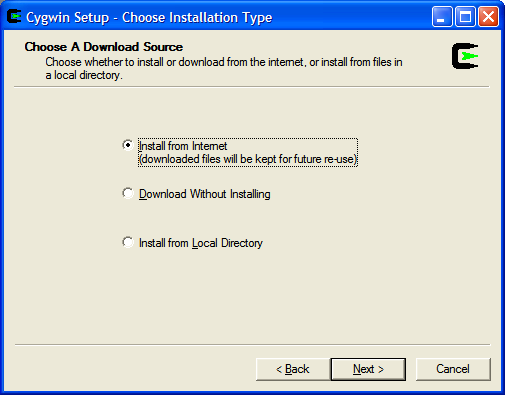 Click next. Accept the defaults (unless you know what you're doing), and then click next. 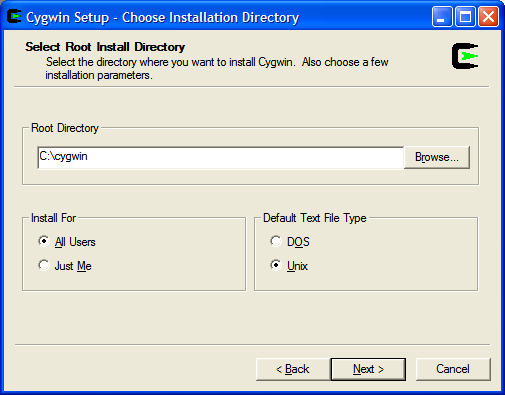 Now you need to specify a temporary directory where the installer can place the install filed for Cygwin. This can be anywhere you desire. I would recomend the Desktop or c:\temp 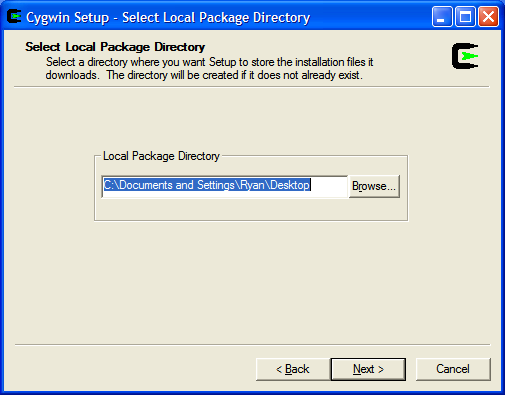 Click next, and a list of download locations will appear. Pick one that's geographically close to you, or one at random. If subsequent steps fail, you can always back up to this screen and select a different download location. 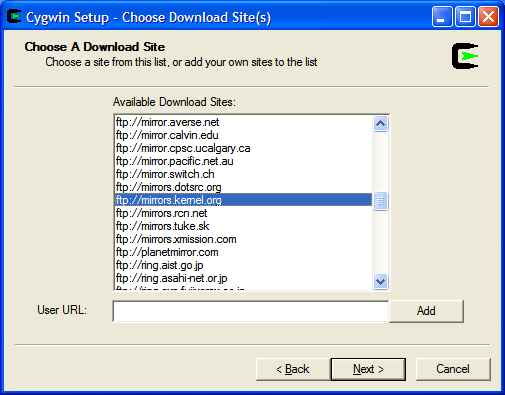 Now comes the tricky part. At this screen, the Cygwin installer shows you what packages it is going to install. It is currently set to install a 'default' set of packages. However, by default X does not get installed! To install X and all the packages it requires you should scroll down to the X11 section and select X-Start-menu-icons, which should depend on all of the necessary X-windows programs. Alternatively you could select each X package you would like to install under the X11 section. 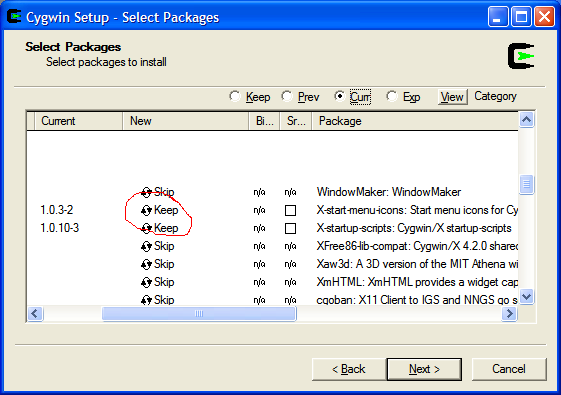 Click next. The installation will then proceed. Relax and have a cup of coffee, as the install will take some time. It will end with the following screen, click Finish to end the installation process. 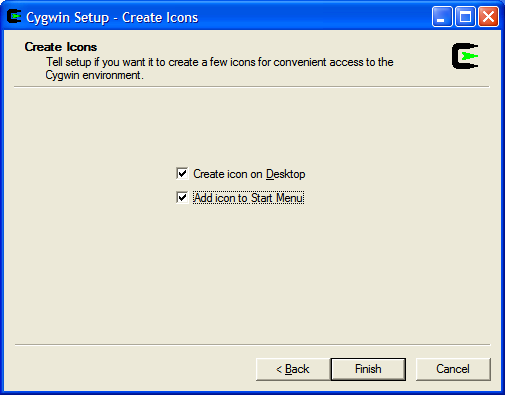 Using and Configuring Cygwin/XUsing CygwinIf you followed the instructions for installing cygwin in the previous section, then you should have on your desktop an icon labeled Cygwin. Double click the icon to launch a shell.  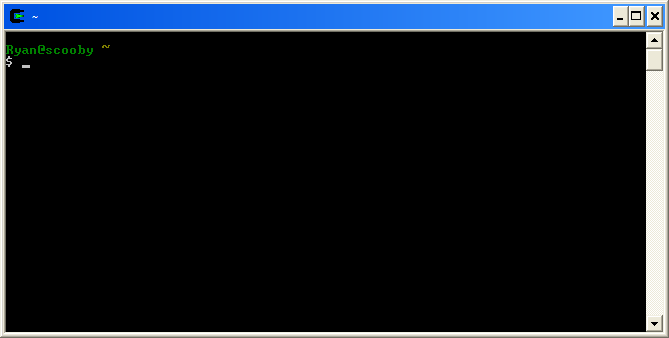 What you're seeing is essentially a bash shell. As part of the install Cygwin creates a user named after your windows login name, and sets up a home directory in whatever directory is defined by Windows as $HOME. Type pwd to find out what it is. Warning! One major difference between Cygwin and Linux is the fact that Cygwin is not case-sensitive. This is because Windows is not case-sensitive. This is a weakness of Windows, not Cygwin. Another difference is that many binaries have the suffix '.exe'. Note: Cygwin also comes with ssh provided it was installed. If you didn't install it, re-run the setup.exe and select openssh located in the net package group. Configuring X on CygwinI won't get any more into using Cygwin, as it's functionally identical to Linux (excepting case-sensitivity). If you followed the install instructions X will already exist in your installation. Let's test it. In the cygwin shell, type startx. 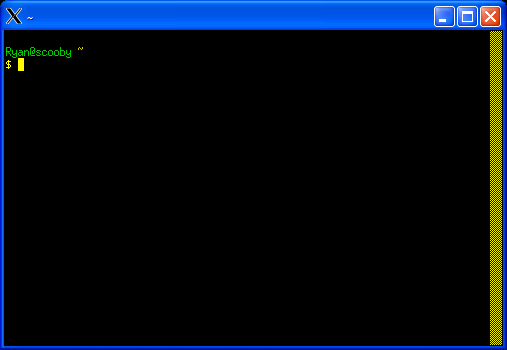 The startx command opens a new bash prompt, but this time it is an X-Windows shell (other window managers are available such as WindowMaker and FVWM, you must install these packages under the X11 packae group). From here you can ssh into remote hosts and have remote X-Windows programs displayed on your local Windows desktop. This is disabled by default so you will need to create a ~/.ssh/config file with the following contents:
Using Cygwin/XDMCP to get a Fate desktopIt's possible to use XDMCP with Cygwin to obtain a desktop session from fate-1 and fate-2. Here's how to do it:
The following screen should now appear on the desktop. 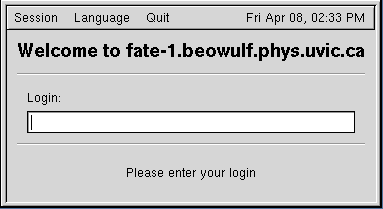 |